With Halloween approaching, I have embraced my artsy side and scoured the internet for fun decorations to make with kids. These Hanging Halloween Bats are definitely my favorite. They are super easy, require basic materials and the kids can do most of it themselves. Here's how we made our bats step by step.
Materials needed:
Cardboard toilet paper rolls
Black construction paper or card stock
Black paint
Googly eyes
White paint
Black or brown pipe cleaners
Glue
Bat wing template (optional)
Hole punch
Cut and paint
To start, paint the toilet paper tubes and give them time to dry.
I let my girls do the painting and drew the wings while they were busy. I cut two sets of wings out as back ups incase they messed up. My 3 year old hasn't quite mastered cutting on the lines.
While the tubes dried they cut and painted the wings. I cut two triangles from cardstock for them to paint as ears.
Let everything dry completely before moving on to the next step.
Assemble
Once everything has dried, glue the tube to the bat wings. On the front of the tube glue on the googly eyes and glue the ears to the inside of the tube. Paint on a smile and tiny fangs and let dry.
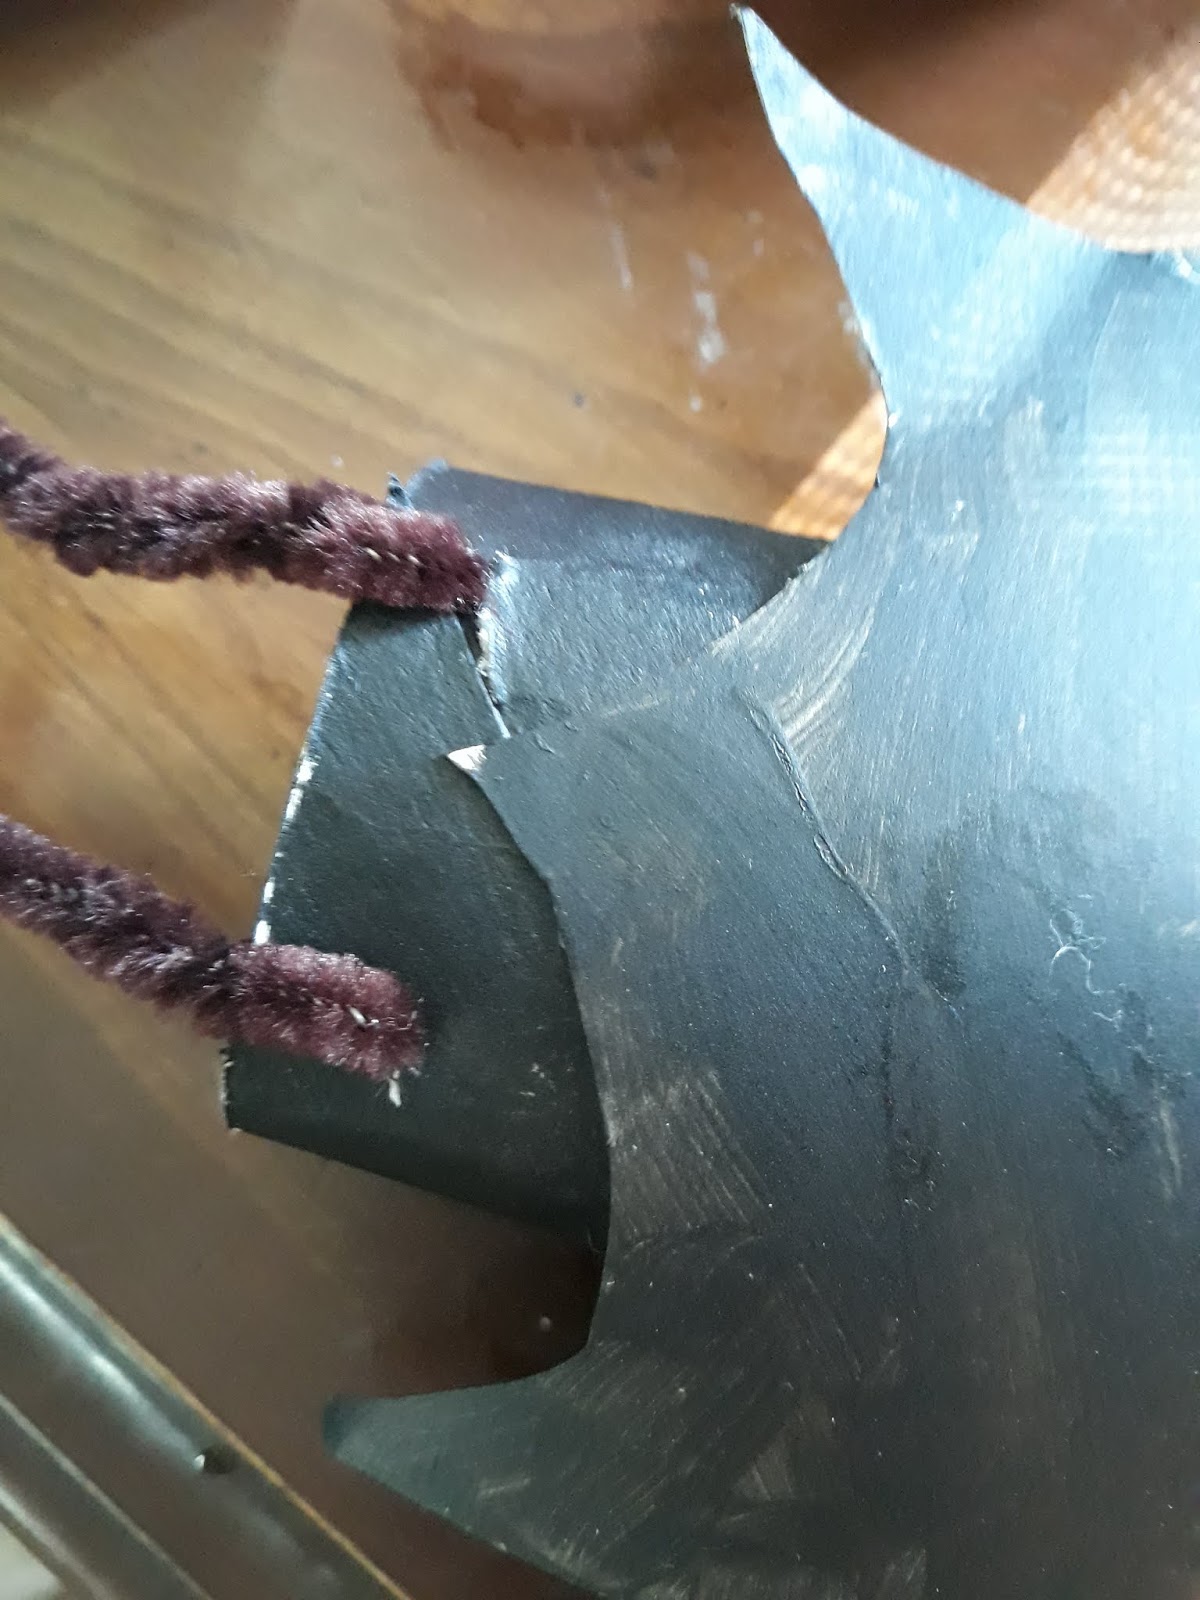
You then want to use a hole punch to place to holes at the bottom of the tube right below the wings. Cut a pipe cleaner in half and insert through the holes. These are the bat's legs.
From here you can hang using the legs or use another pipe cleaner to create a loop for hanging from doorknobs.


These are really cute hanging outside!
ReplyDeleteAwesome craft for little ones.
ReplyDelete